

Creating an Circleci pipeline and update Kubernetes manifest repo, and push image to Docker Hub


This image shows the tools used in this blog.
🙋🏻♀️ Introduction
Hello everyone! Myself Mastan, im an DevOps and Cloud enthusiast with a relentless drive to explore the latest advancements in cloud technology. Today i will explore how to setup an circleci pipeline to automatically update the k8s manifest files for every build and seamlessly push the images to Docker hub.
✅ Prerequisites
GitHub Account
CircleCI Account
Empowering Development: CircleCI
CircleCI is a popular CI/CD platform that automates the testing and deployment processes for developers. By integrating with tools like GitHub and AWS, CircleCI simplifies the workflow and ensures high-quality software delivery. It automatically builds and tests code changes, identifies errors early on, and supports various deployment strategies.
Test
Build
Push
Update Manifest
Our application development relies on a robust pipeline that guarantees comprehensive testing, Docker image building, and GitOps-based deployment. Through this pipeline, we can ensure that our code is high quality and that our deployments are stable and up-to-date.
⏩ Step-by-step guide
Step 1: Write the YAML file
To start, open the application code folder in your preferred code editor (VSCode). Next, create a new folder inside the code directory and name it “.circleci.” Within this newly created folder, create a file named “config.yml.”
To proceed with the configuration, copy and paste the provided content into the “config.yml” file. For further assistance, you can refer to the GitHub repository: https://github.com/Mastangithub123/TODO-APP
version: 2.1
version: 2.1

jobs:
  build_and_push:
    docker:
      - image: cimg/node:20.3.1
    steps:
      - checkout
      - setup_remote_docker
      - run:
          name: Lets build and push image
          command: |
            version="build-$CIRCLE_BUILD_NUM"
            echo $version
            docker build -t mastanhub/todo-app:$version .
            echo $DOCKER_PASSWORD | docker login -u $DOCKER_USERNAME --password-stdin
            docker push mastanhub/todo-app:$version

  Update_manifest:
    docker:
      - image: cimg/base:2023.06
    steps:
      - checkout
      - setup_remote_docker
      - run:
          name: Updating Manifest file
          command: |
            TAG=$CIRCLE_BUILD_NUM
            ((TAG--))
            git clone https://github.com/Mastangithub123/kube_manifest.git
            git config --global user.email "mastanazure.123@gmail.com"
            git config --global user.name "Mastangithub123"
            pwd
            cd kube_manifest
            pwd
            echo $TAG
            sed -i "s/build-.*/build-$TAG/g" manifest/deployment.yaml
            cat manifest/deployment.yaml
            git add .
            git commit -m "new build with imgTag build-$TAG"
            git config credential.helper 'cache --timeout=120'
            git push -q https://$GITHUB_PERSONAL_TOKEN@github.com/Mastangithub123/kube_manifest.git main
workflows:
  GitOpsflow:
    jobs:
      - build_and_push
      - Update_manifest:
          requires:
            - build_and_push
Step 2: Generate GitHub Token
Login into GitHub Account and Go into Settings -> Developer settings -> personal access token and create a personal access token.
Maintain a copy of your created personal access token as CircleCI required a token to authenticate while updating the Kubernetes manifest repo.

This image shows how to Generate Personal Token on GitHub
Step 3: Upload Source code to GitHub
Upload Kubernetes manifest repo and AppCode to GitHub. There are total 2 repositories:
This repo contains source code ,circleci config file and Dockerfile
Manifest Repo will contain deployment.yaml will be updated with the new build each time a new deployment occurs, and Service.yaml with LoadBalancer Service type will help interact with the internet.
Step 4: Setting up Project in CircleCI
Login into your CircleCI Account with Github Account, and you will observe that all the repositories in your GitHub account are synced under ‘Projects.’
Look for your application code repo and click ‘Set Up Project.’
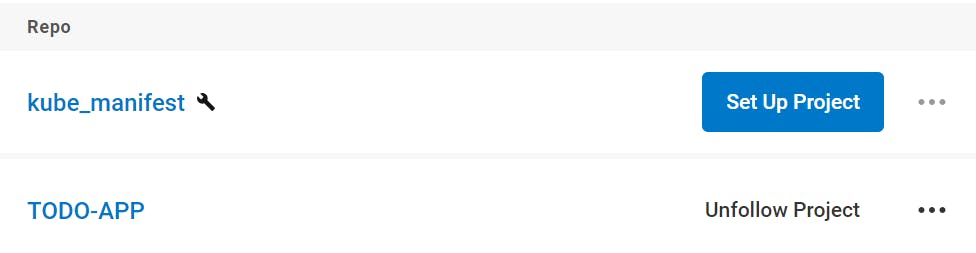
This image shows how to set up a Project in CircleCI
You will be prompted to provide a config.yaml file. Select the ‘main’ branch under the ‘Fastest’ option and set up your project.
If you cannot see your project, check if you have selected the correct organization in the top left-hand corner of CircleCI.

This image shows how to check Organizations in CicleCI
As soon as you set up the project, the pipeline will automatically get triggered, but it is going to fail as it requires credentials to authenticate Docker and GitHub.
Step 5: Set up Environment Variables
Under ‘Project Settings’, click on the ‘Environment Variables’ option in the left panel and ‘Add Environment Variables’.
We will require the below Variables to be configured with the same name as we have utilized them in our config.yaml
🔹DOCKER_PASSWORD
🔹DOCKER_USERNAME
🔹GITHUB_PERSONAL_TOKEN

This image shows how to set up Environment variables in a project
Now, rerun the pipeline. It will create a new image, which will be pushed to Docker Hub, and the manifest file will be updated with the new tag.
This image shows the Pipeline status in CircleCI
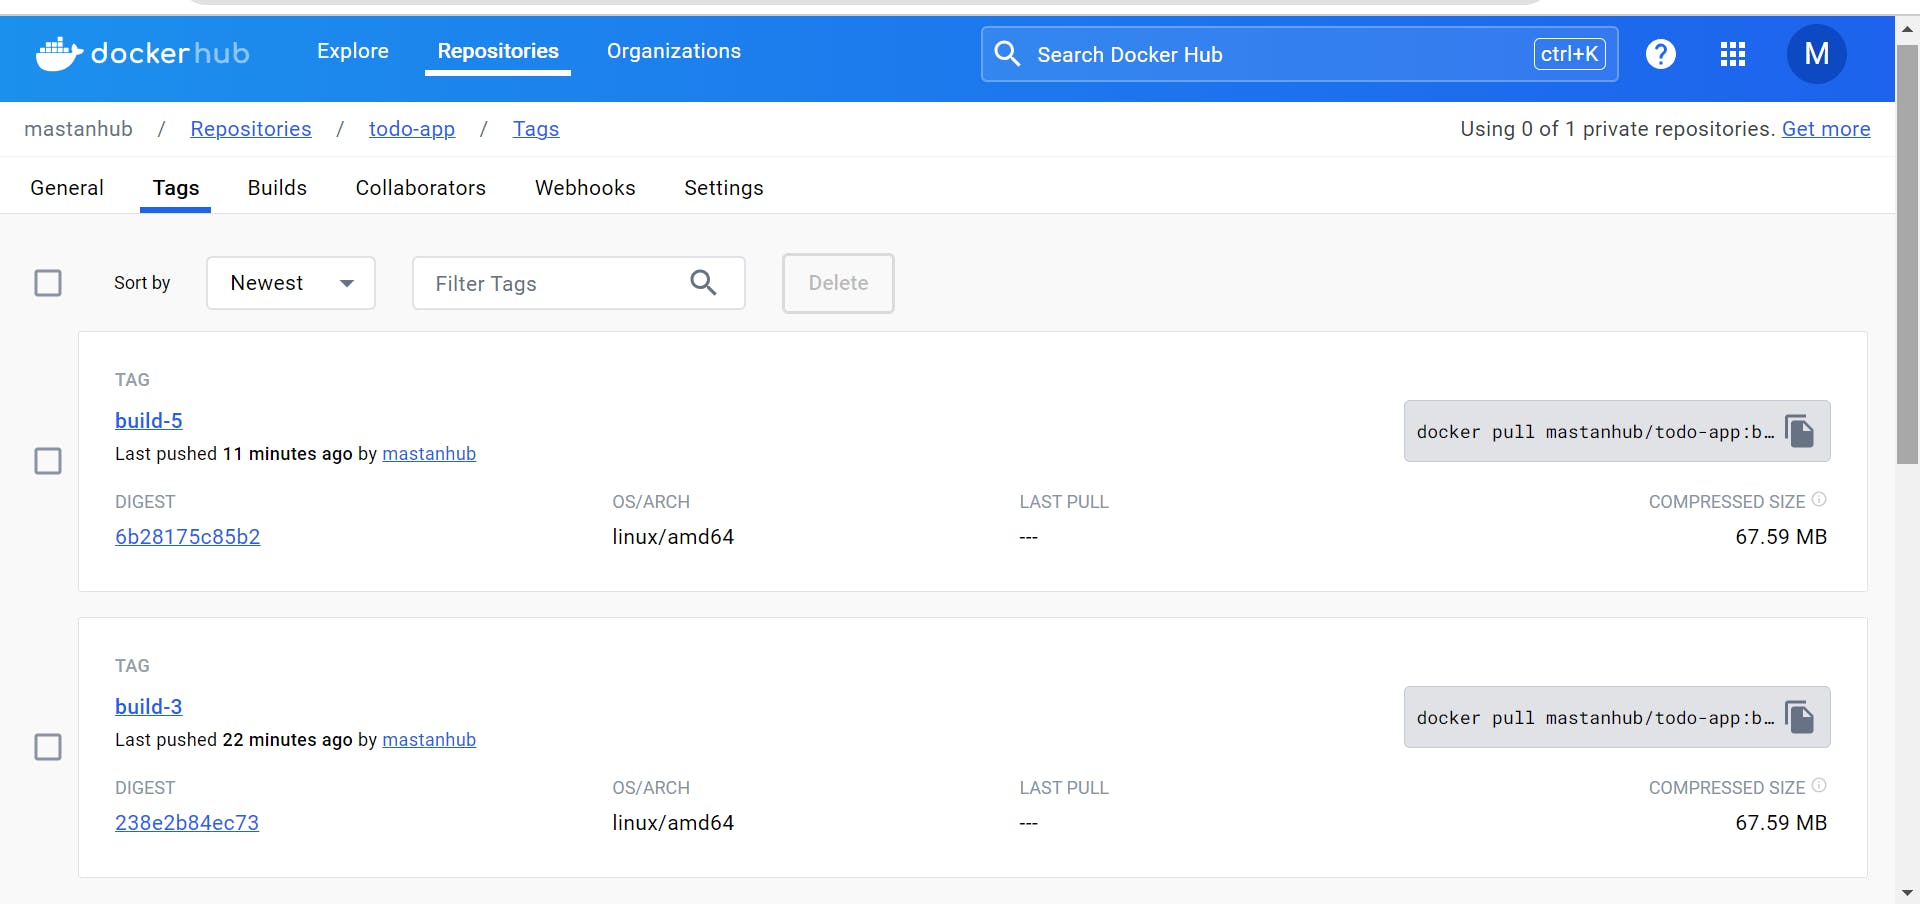
This image shows the Latest Image pushed to the Docker Hub
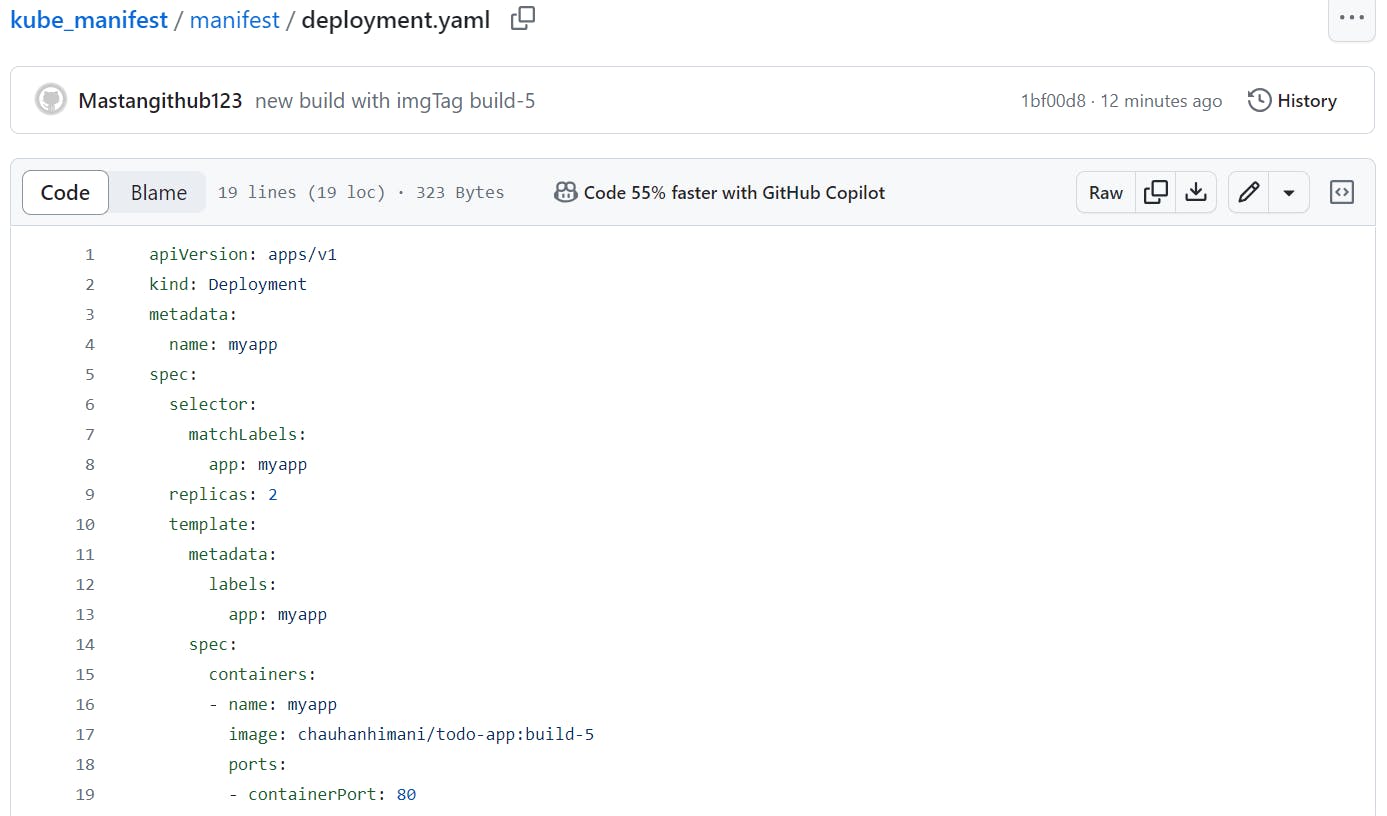
This image shows that the manifest file has been updated with the latest image tag
Huuray ..! Our Circleci Pipeline has been set up successfully 🤩
Keep your learning journey alive! If you encounter any challenges, please don't hesitate to reach out to me on LinkedIn.
Thank You!
Best regards,
Mastan 🙌